Use Azure AzCopy Tool to Upload Multiple PST Files to Office 365

The post is going to provide step-by-step guidelines for uploading PST files to Office 365 via Microsoft Azure AzCopy software. Administrators can read these steps thoroughly and implement them to manually upload multiple PST files to Office 365 platform.
Introduction on Microsoft Azure AzCopy Application
AzCopy is a command-line utility, which is purposely coded to copy information to / from Microsoft file, blob, and table storage. It uses simple command lines that are made for optimal performance. Customers can use this tool to copy their data between a storage account and a file system, or between storage accounts. Well, Microsoft Azure AzCopy program is available in two versions i.e., AzCopy on Windows and AzCopy on Linux. The Windows version target on Windows style options of command-line and, Linux edition offers a POSIX style command-line options. In this post, we are going to use Azure AzCopy for Windows version to upload multiple PST files to Office 365 tenant.
Migrate Outlook PST File to Office 365 Via AzCopy Utility
Initially, administrators need to grant ‘Import Export’ permissions within the mailbox. It is compulsory to enable this permission for successful completion of this approach. The entire procedure is quite lengthy therefore, it is divided into following five major sections :
1. Download and install Azure AzCopy tool
2. Gather the ‘Storage Key’ and ‘Upload URL’
3. Upload Outlook PST file to Office 365 tenant
4. Create CSV file to map PST file attributes
5. Develop an import job in Microsoft Outlook 365
Now comes the time for the description of each section. So lets’ begin!
Section 1: Download and Install Azure AzCopy Software
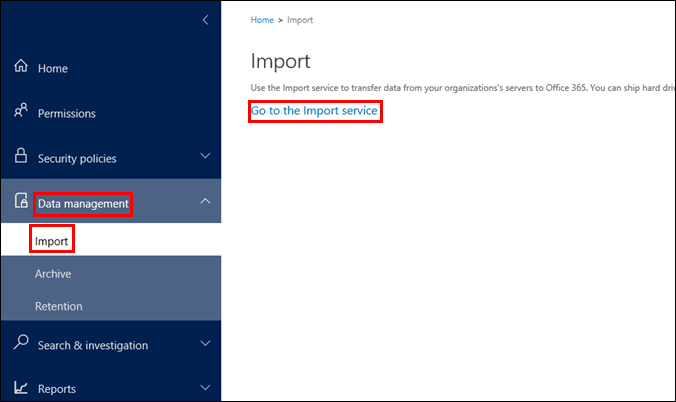
a) Go to www.protection.office.com website and login into your business global administrator account
b) On the left-hand side of the screen, explore the Data Management menu. Now click on Import >> Import Service link to continue with upload multiple PST files to Office 365 via Azure AzCopy tool
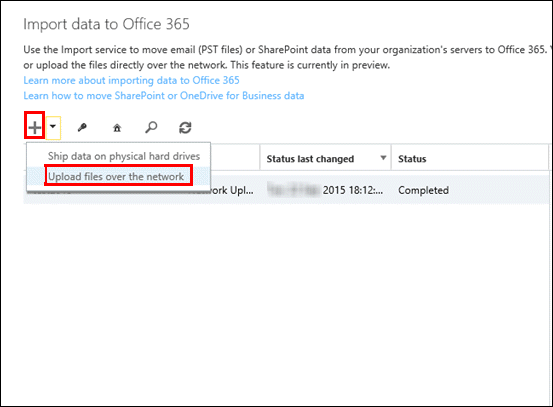
c) Click on the Add (+) icon for displaying the drop-down menu. From the displayed list, choose Upload files over the network option to import PST to shared mailbox in Office 365
d) This opens a new browser page where you have to click on Download tool weblink for downloading Microsoft Azure AzCopy application on your PC
![]()
e) Click on Run button to automatically execute the setup file after its successful downloading from the internet

f) After a few minutes, the Microsoft Azure storage tool setup screen will appear. Here, you have to continue the procedure to import your organization’s PST files to Office 365 by clicking on Next button
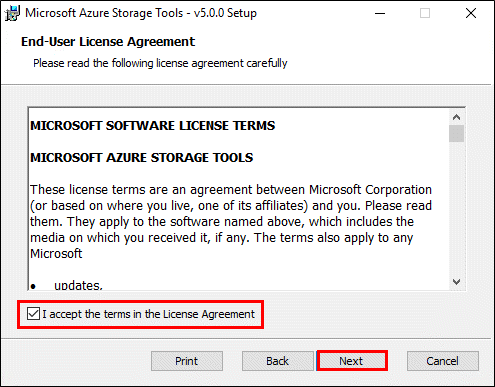
g) Check the checkbox of ‘I accept the terms….’ and click on Next
h) Accept the default system location for the utility installation by clicking on Next
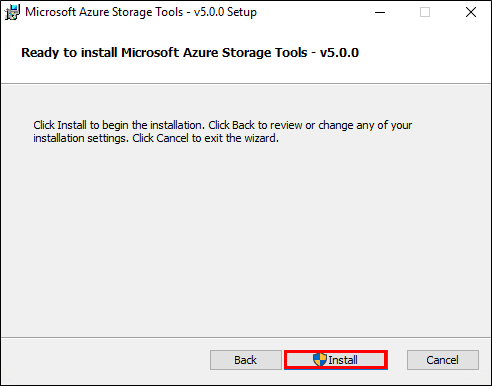
i) Finally, a ‘Ready to Install’ window opens in which you have to click on Install button. This will initiate the process of installing a utility on your machine.
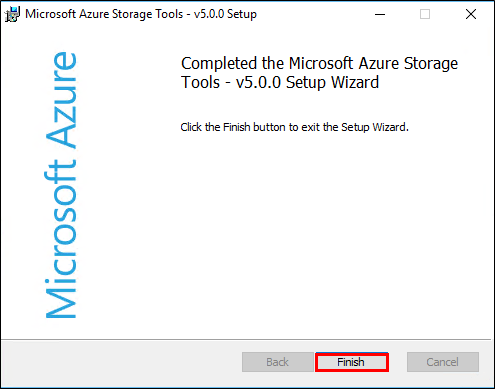
j) Once the installation gets finished, a completion message will appear. Click on Yes >> Finish to end up the entire procedure
Section 2: Gather the ‘Storage Key’ and ‘Upload URL’
a) Open Import Data to O365 page in your global administrator account
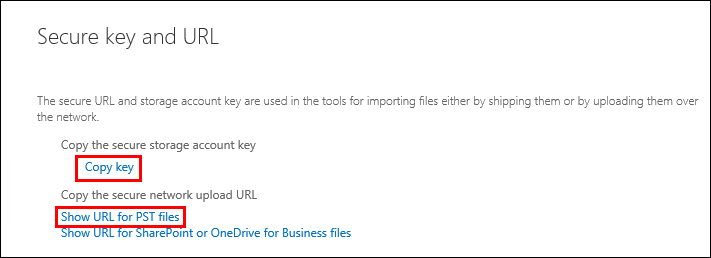
b) Click on the key icon available on this page for saving secure key along with URL at a secured place
c) A new Secure key and URL webpage appears in which you have to click on Copy Key link. Wait for 5 minutes for finishing up the process on its own
d) Continue with uploading PST files to Office 365 by clicking on Show URL for PST files weblink
e) Now open Notepad or Sticky Note on your PC and paste both URL & key on it. It is mandatory to perform this step because both these URL and key are required in next section
Section 3: Upload Multiple PST Files to Office 365 Account
a) Run the command prompt program as an admin on the computer where Azure AzCopy tool is installed
b) Use the command lines to navigate towards AzCopy directory path
c) Execute the cmdlets provided in the following screenshot to export / import PST file to Office 365 mailbox

In the command line, \\SERVER01\PSTshare is the location where source Outlook.pst file is saved. If there are multiple PST files to be migrated then, also you can use AzCopy tool for the same. The location ‘C:\PSTshare\Uploadlog.log’ is of log file on local machine.
Section 4: Create CSV File To Map PST File Attributes
a) From the official Microsoft site, download ‘PST import Mapping File’
b) Mention all the information required in the CSV, before uploading
c) Use each line for an individual PST file, which is to be migrated and fill as much lines needed
d) Save this CSV file with any of your desired names at any location and proceed to next section for migrating Outlook PST data to O365
Section 5: Develop an import job in Microsoft Office 365
a) Go to www.protection.office.com website and login into your global admin account
b) Open Import Service page by exploring Data Management option and clicking on Import
c) Click on the Add icon and select Upload Files Over the Network option from the displayed list to import local PST to Office 365
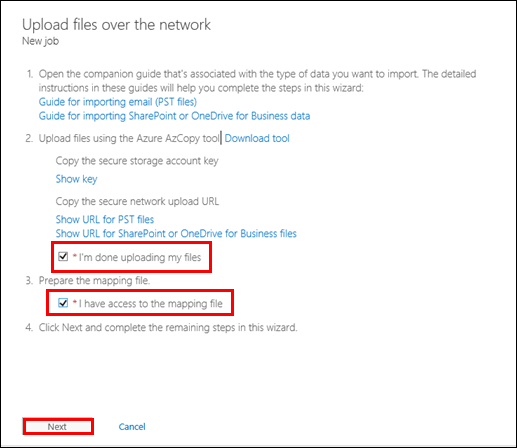
d) Here you will find two options displaying in front of you i.e., I have access to map file and I’m done with uploading my files. Enable checkboxes of both these option and click on Next
e) In the blank text field, give a name to the job and click on Next. This will continue the procedure to upload multiple PST files to Office 365.

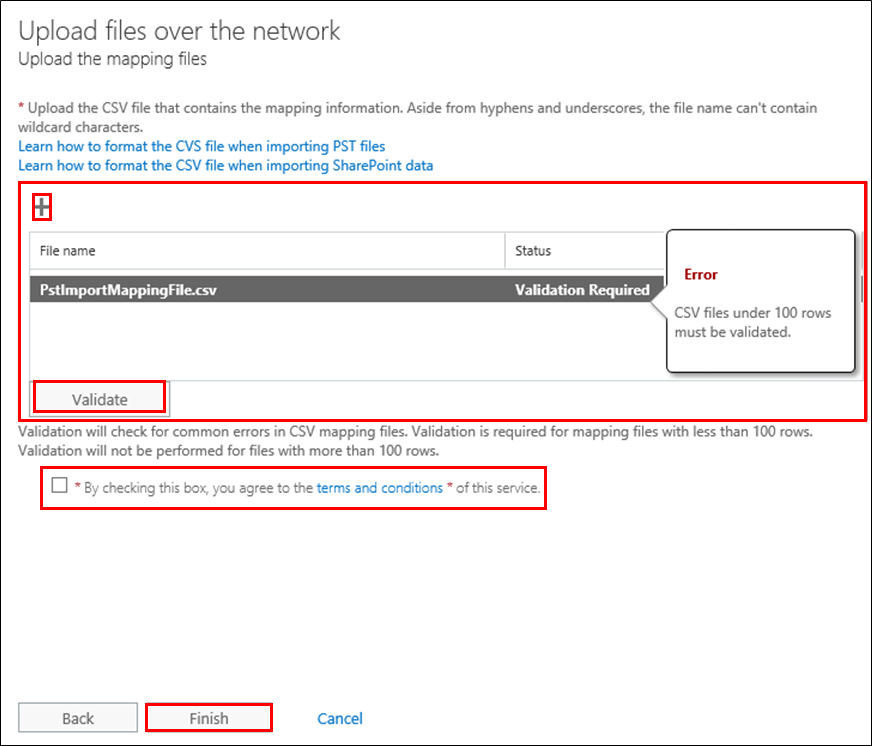
f) Append the file for PST mapping by hitting on Add icon. If the browsed file comprises less than hundred rows, click on the Validate button. You have to agree the displayed terms and conditions & then, click on Finish >> Close
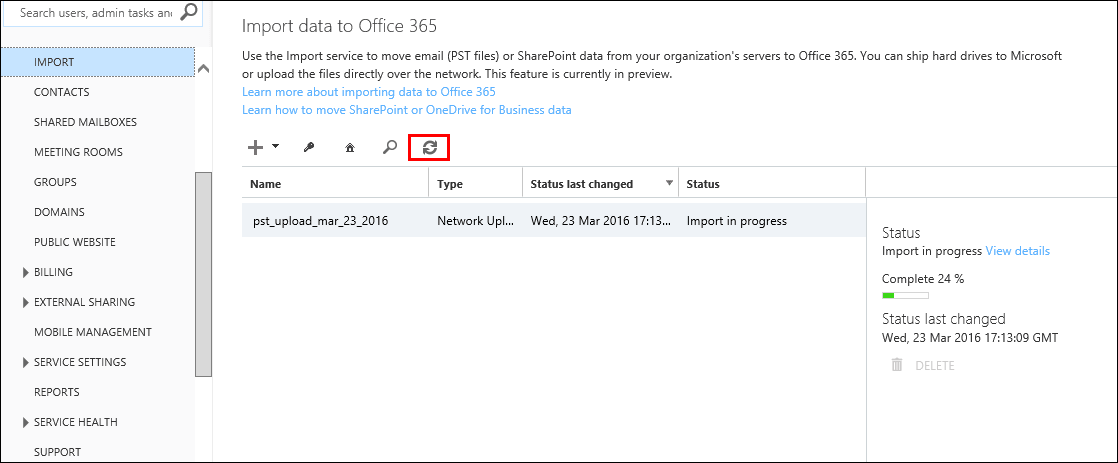
g) Microsoft Outlook 365 starts uploading PST files to Office 365 tenant. The current procedure status can be analyzed by opening Import tab under Admin center page. Click on the Refresh button to see the update in status after each minute
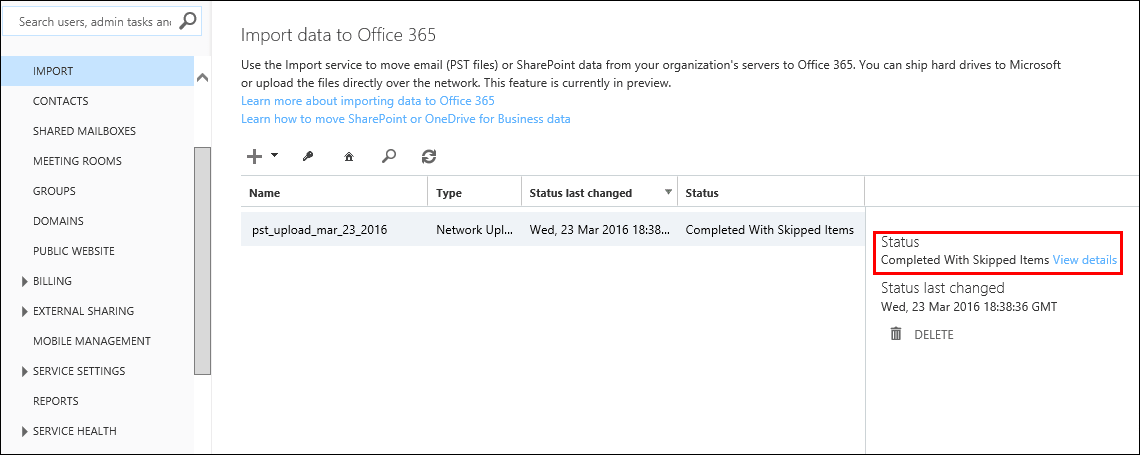
h) Check whether any problem occurs while performing the importing procedure or not. If yes, click on the particular issue and go through its details
Conclusion
The process to upload multiple PST files to Office 365 tenant via Azure AzCopy tool is lengthy. But, it is simple to perform for an administrator if things are carried away in a systematic manner. All what an admin needs to have is patience and entire one day for migration procedure to be completed. Rest, the time duration is dependent upon the size of Outlook database file, which is to be migrated in Exchange Online account.