Tutorial to Setup Multi-factor Authentication for Office 365 Users


This tutorial blog enables users to setup multi-factor authentication for Office 365 users. Being the part of Microsoft Office 365 for a business plan, administrators can find a free edition of Azure multi-factor authentication. So let’s begin!
Office 365 Multi-Factor Authentication through Admin Center
It is essential to have Microsoft Office 365 global admin credentials to perform these steps.
- Open the Office 365 admin center by clicking on https://portal.microsoftonline.com this link.
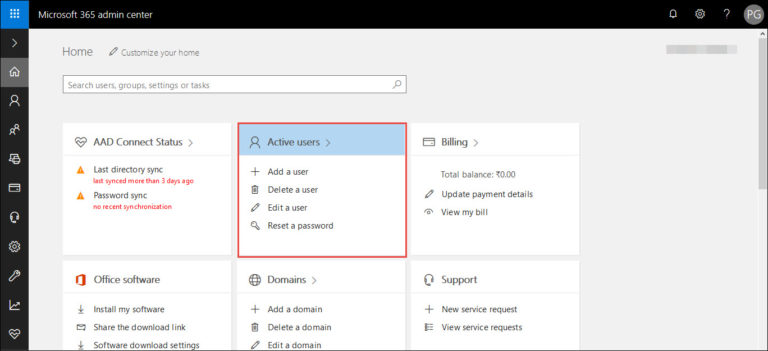
- An Admin portal page gets opened where you have to click on Active Users box.
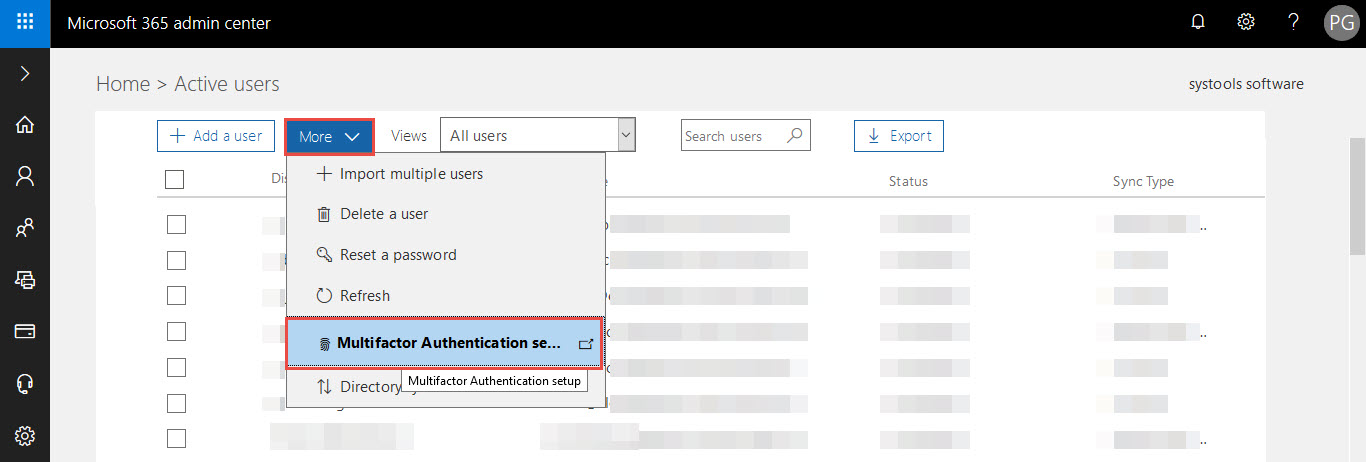
- Click on the More drop-down button and choose the Multifactor Authentication setup option from the list. Remember that if you are not the global admin then, this option will not appear in the dropped down a list.
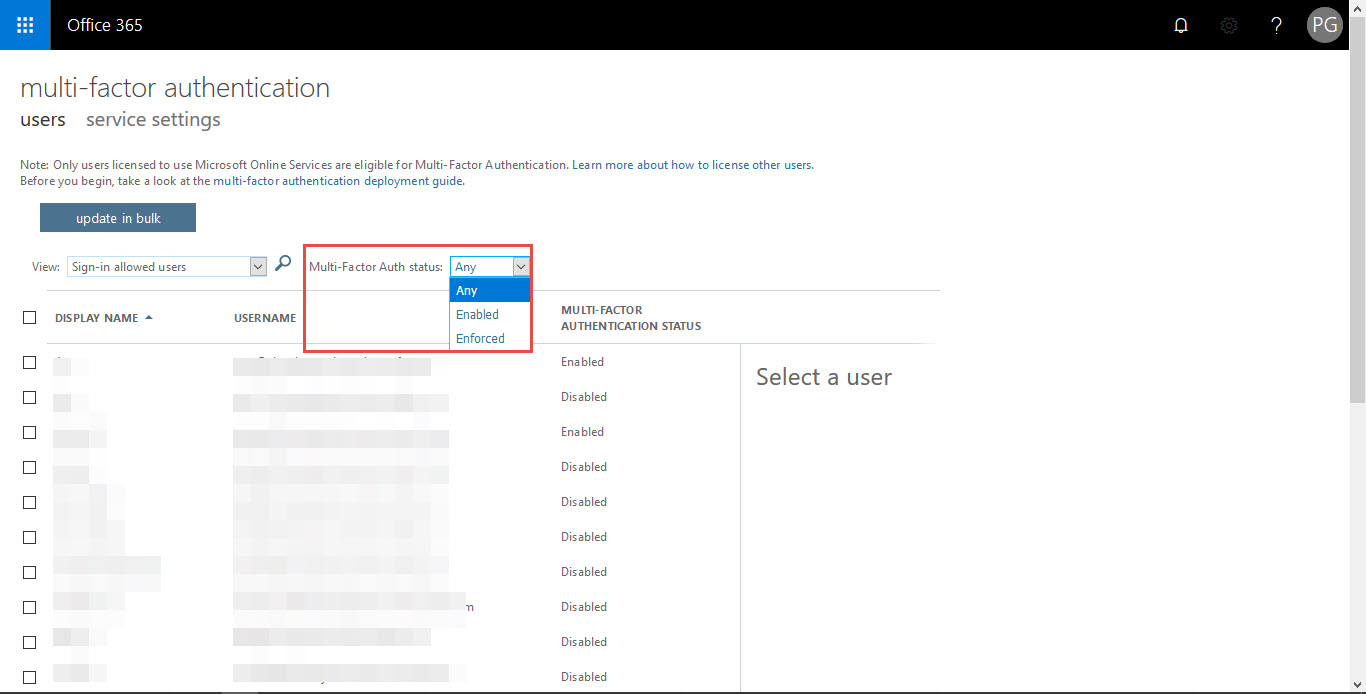
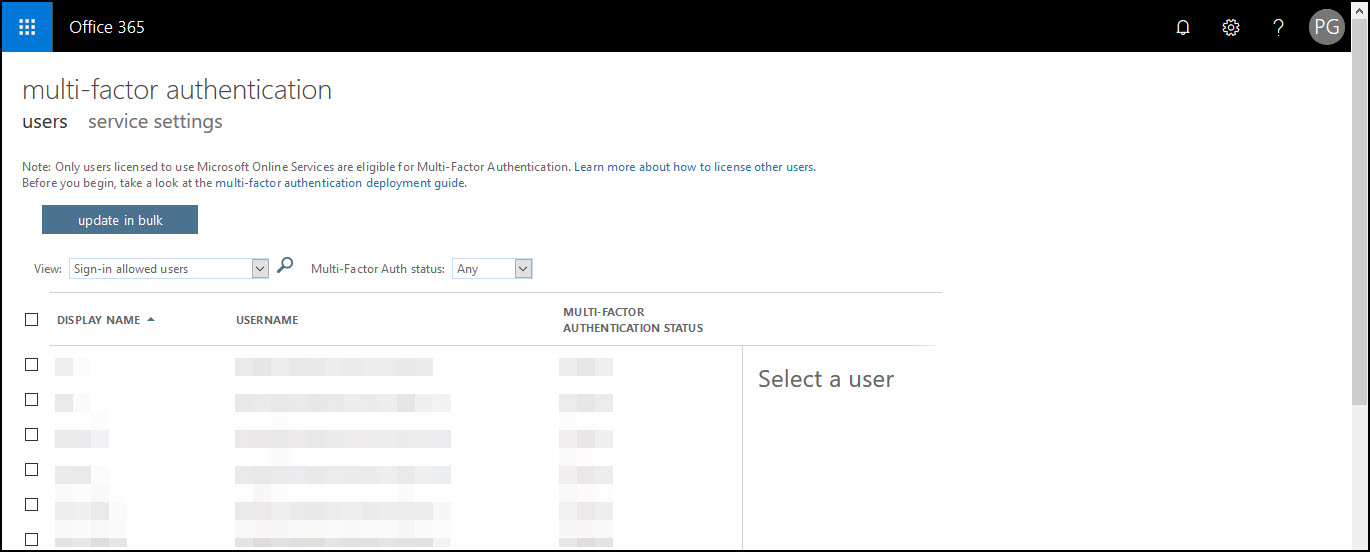
- This loads a new tab of Multi-factor authentication in which you as an administrator has to select the users for whom MFA is to be enabled. To make view comfortable, you can customize the viewing settings with the following attributes of ‘Multi-factor Auth status’:
Any – Loads all the accounts of users associated with the admin account.
Enabled – List only those individuals whose MFA is enabled but, a registration process is not completed. With this value, you will be asked to complete the remaining procedure on the next time logging.
Enforced – This includes the users who might or might not have completed the registration. If registration is completed then, surely they are using Office 365 multi-factor authentication. Else, they will be prompted for completion of the remaining procedure on the next sign in.
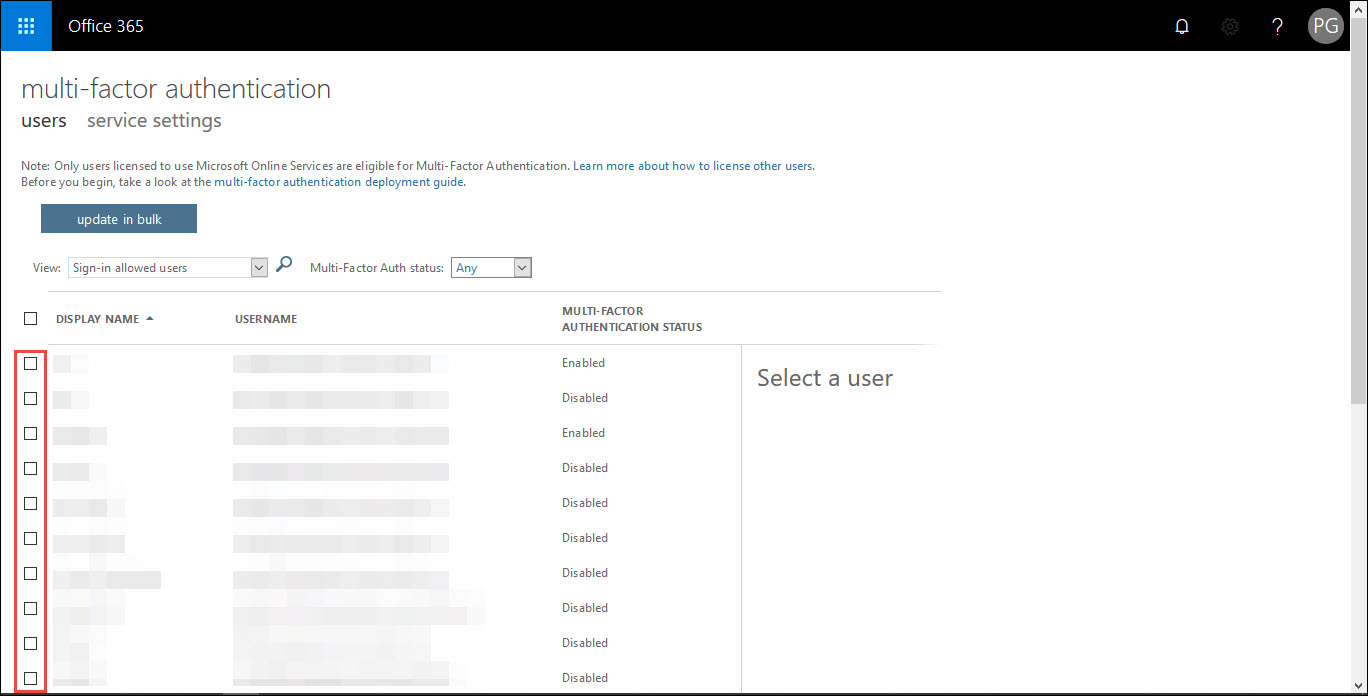
- Click on the checkbox of users to setup multi-factor authentication for office 365.

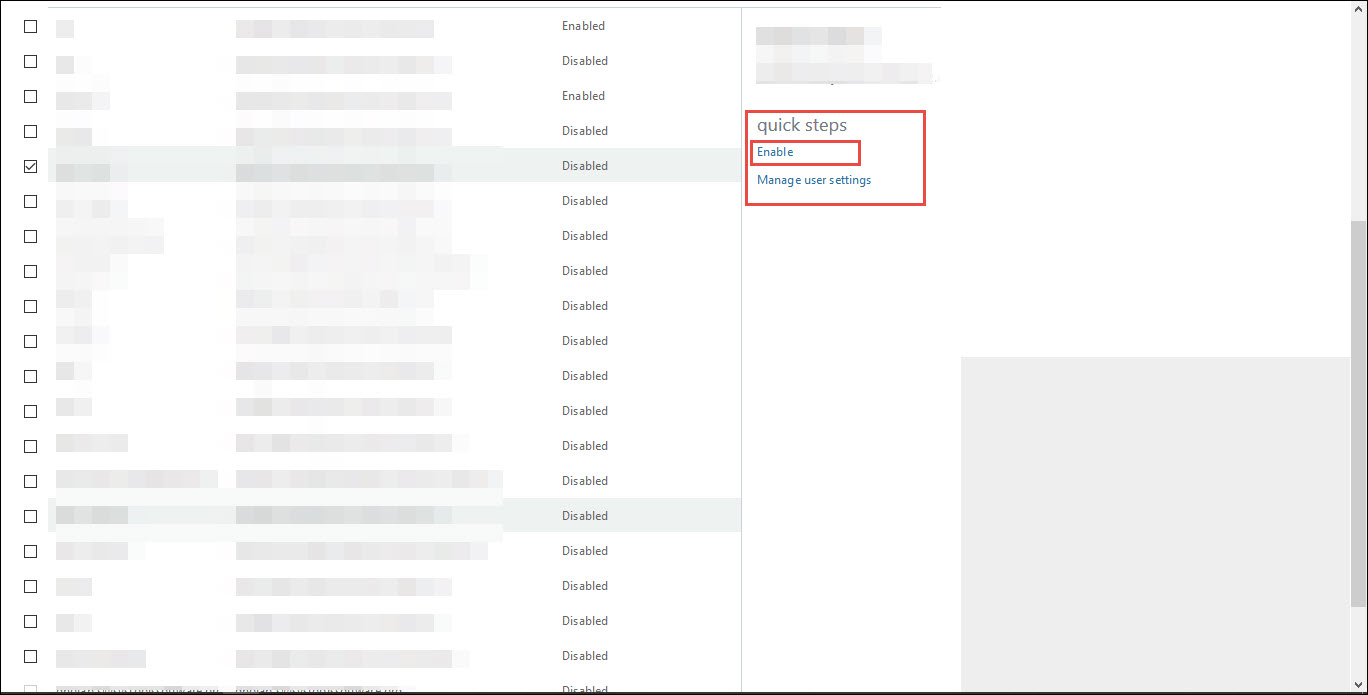
- After checking the user’s checkbox, you will find that a quick steps section gets loaded. Under this section, click on Enable option.
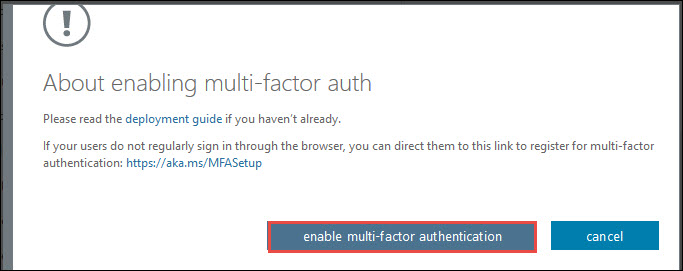
- This opens a dialog box in which you have to click on enable multi-factor authentication button.
Enable MFA Users to Create Their Own Password
Setup multi-factor authentication for Office 365 users as per user account. If a user has MFA-enabled then, they would not be able to use the desktop-based email clients like Outlook 2013 with O365, until and unless an app password isn’t created.
Just An Information – An app password is a password, which is generated within the Microsoft Azure portal and enables individuals to bypass multi-factor authentication and proceed with the use of their application.
Microsoft Office 2016 application supports the feature MFA via ADAL (Active Directory Authentication Library). This means that the application password is not demanded by the MS Office 2016 users. But, if you observe that this is not the situation then, ensure that O365 subscription plan is enabled with ADAL. For this, you need to establish the connection with Exchange Online PowerShell window and then execute Get-OrganizationConfig | Format-Table name, *Oauth* command. If ADAL is not activated then, execute Set-OrganizationConfig -OAuth2ClientProfileEnabled:$true cmdlet. After checking the settings associated with ADAL, go through following instructions to append app password :
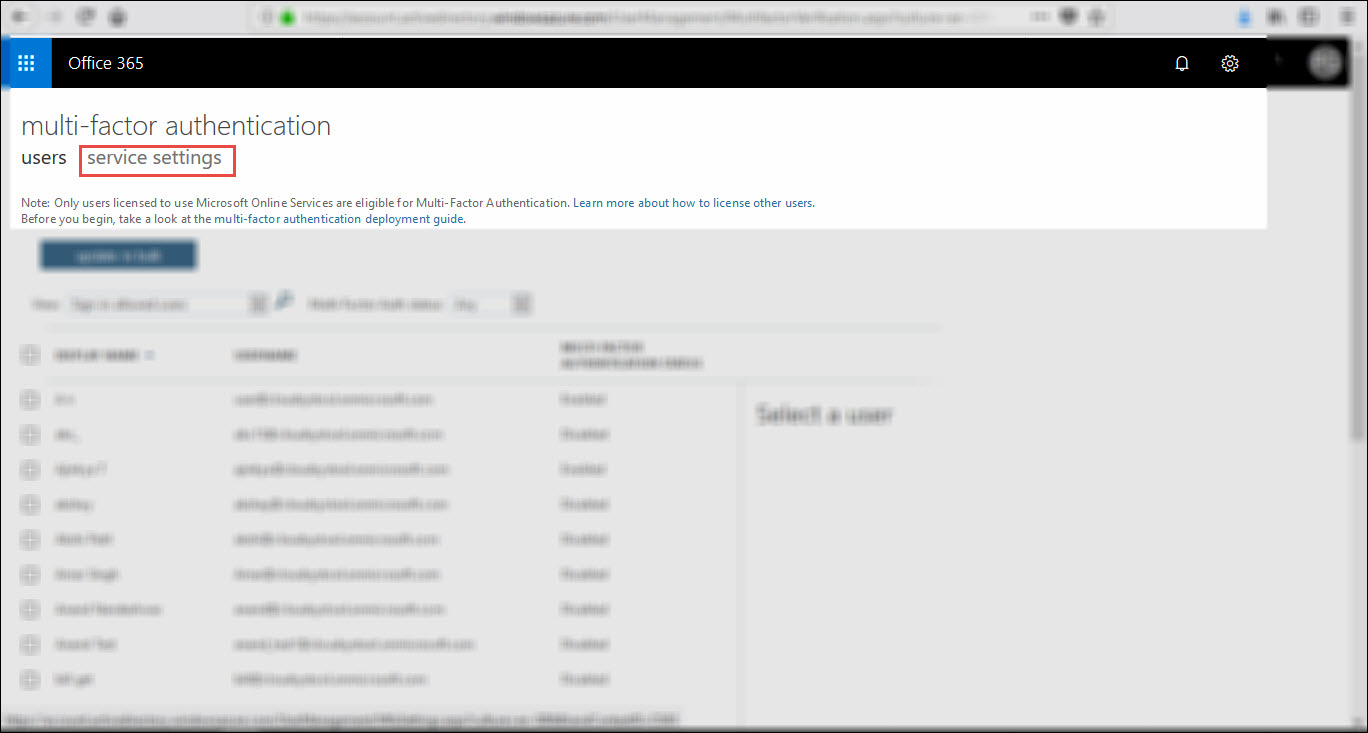
- Open the Multi-factor authentication page in Office 365 Admin account. For this, you can refer the Steps for ‘setup multi-factor authentication’ section.

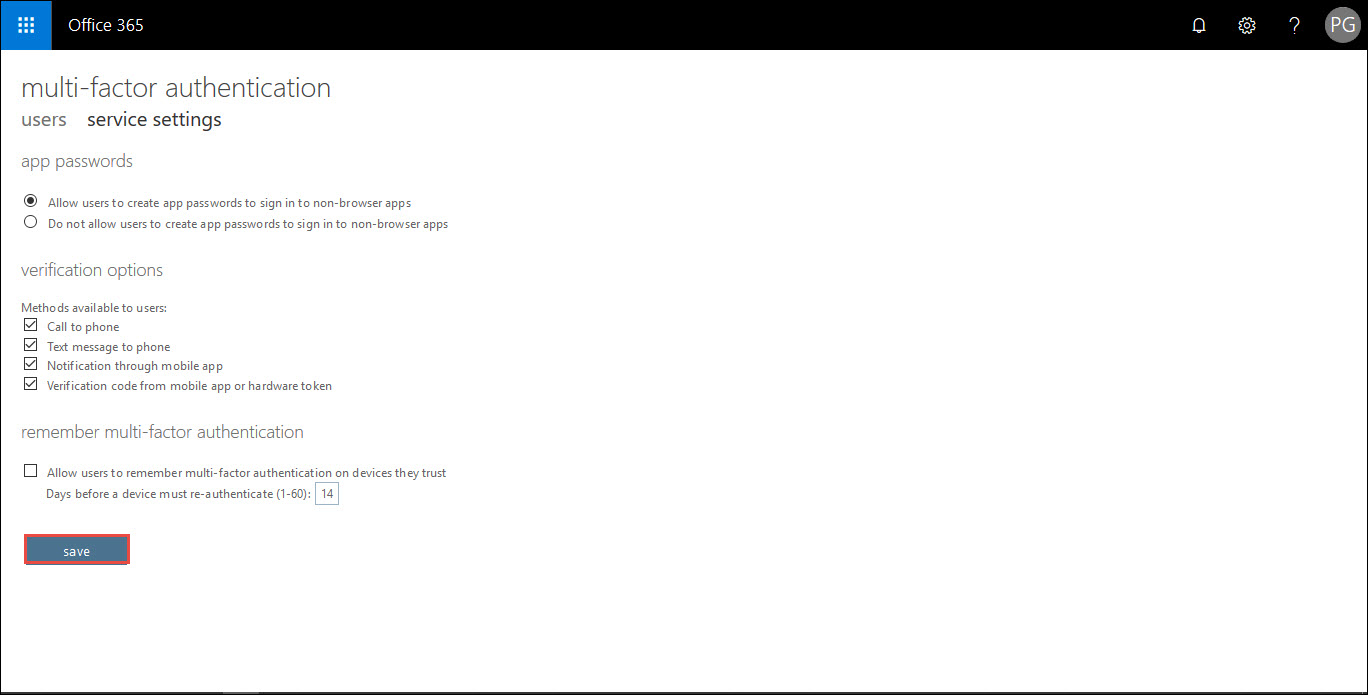
- Click on Service Settings tab to apply for app password in MFA Office 365 user accounts.
- In the section of app passwords, enable the radio button to Allow users to create……
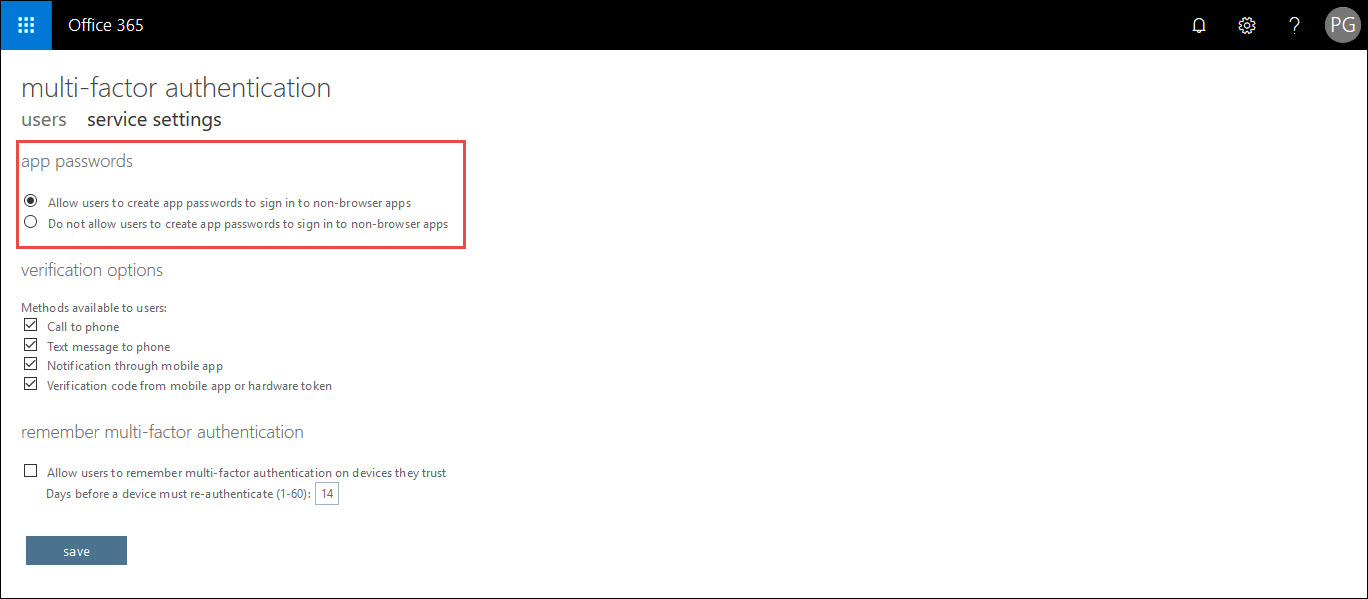
- Click on Save button to update the changes and then, log out from your admin account.
Manage User Settings of MFA in Office 365
If you want to make any modification in MFA-enabled O365 users then, take help of following guidelines:
- Open Multi-factor authentication page in Microsoft Office 365 global admin page
- Check the checkbox of those users whose settings are to be modified
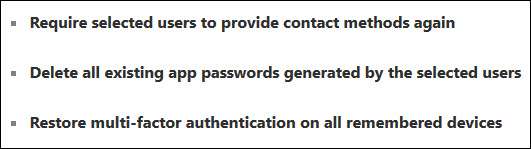
- Go to the Quick Steps section and click on Manage User settings link
- This will load a dialog box where you have to choose any one of the 3 listed options.
- Click on Save and close the web browser after logging out from the tenant
Conclusion With A Suggestion
When the administrator is done with a procedure to setup multi-factor authentication for Office 365 users, he or she needs to give account users guidance on following security instructions :
- Create an app password for Office 365 tenant
- Set up a 2-step verification process in Office 365
People need to make the instructed settings on their second time login in an O365 account.