Tutorial Guide to Create Form in Office 365 – Feedback Form


In this digital market, online technical forms are available everywhere. It is possible to create these forms with help of Microsoft Office 365, even without any specialized web skills. No web designing training or development skills are need to design an online forms. Still many enterprises are available who are unaware from the fact that it is possible to create forms in Office 365. Office 365 subscription offers Microsoft Forms platform to work without any expertise level skill set. This blog is going to explain step-by-step procedure to use Microsoft platforms available to design form in Microsoft 365.
Create Form with Microsoft Office 365
The following steps will help users to create forms in Office 365 itself :
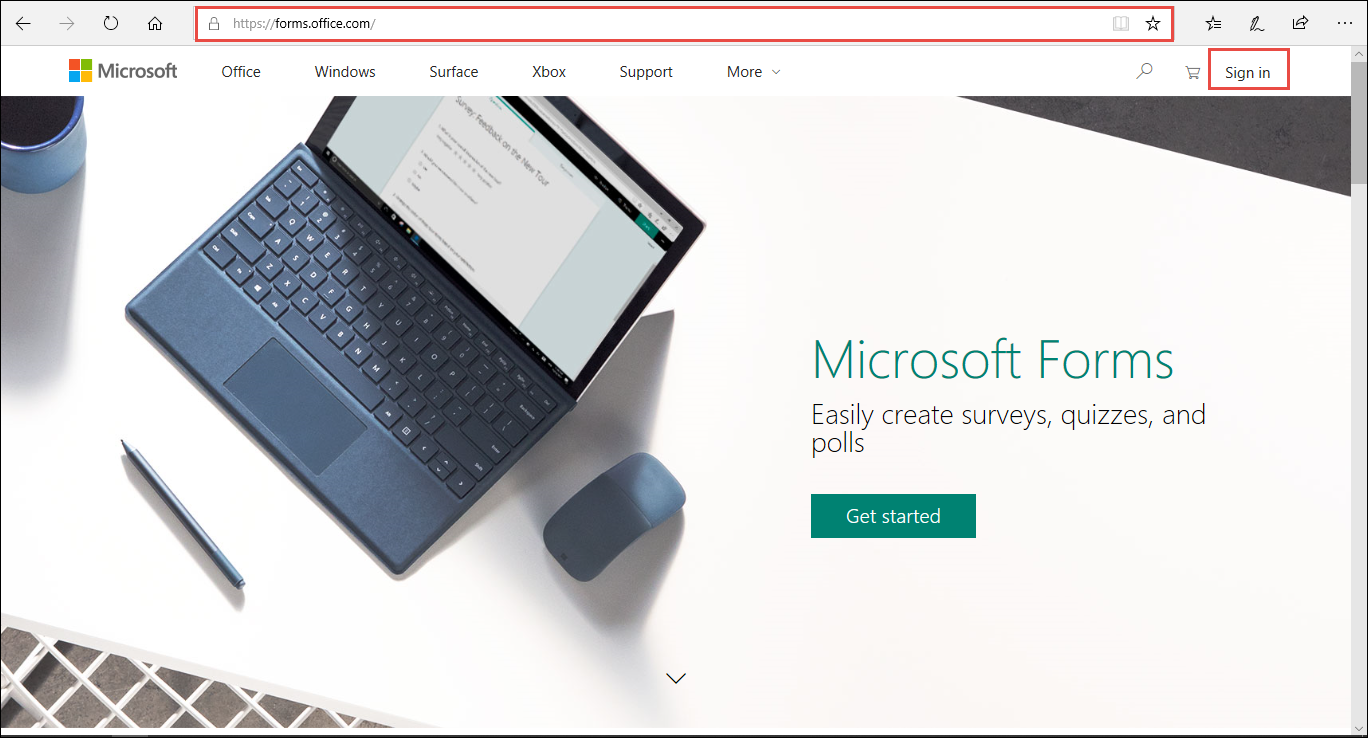
1. Go to http://forms.microsoft.com/ and click on Sign in button
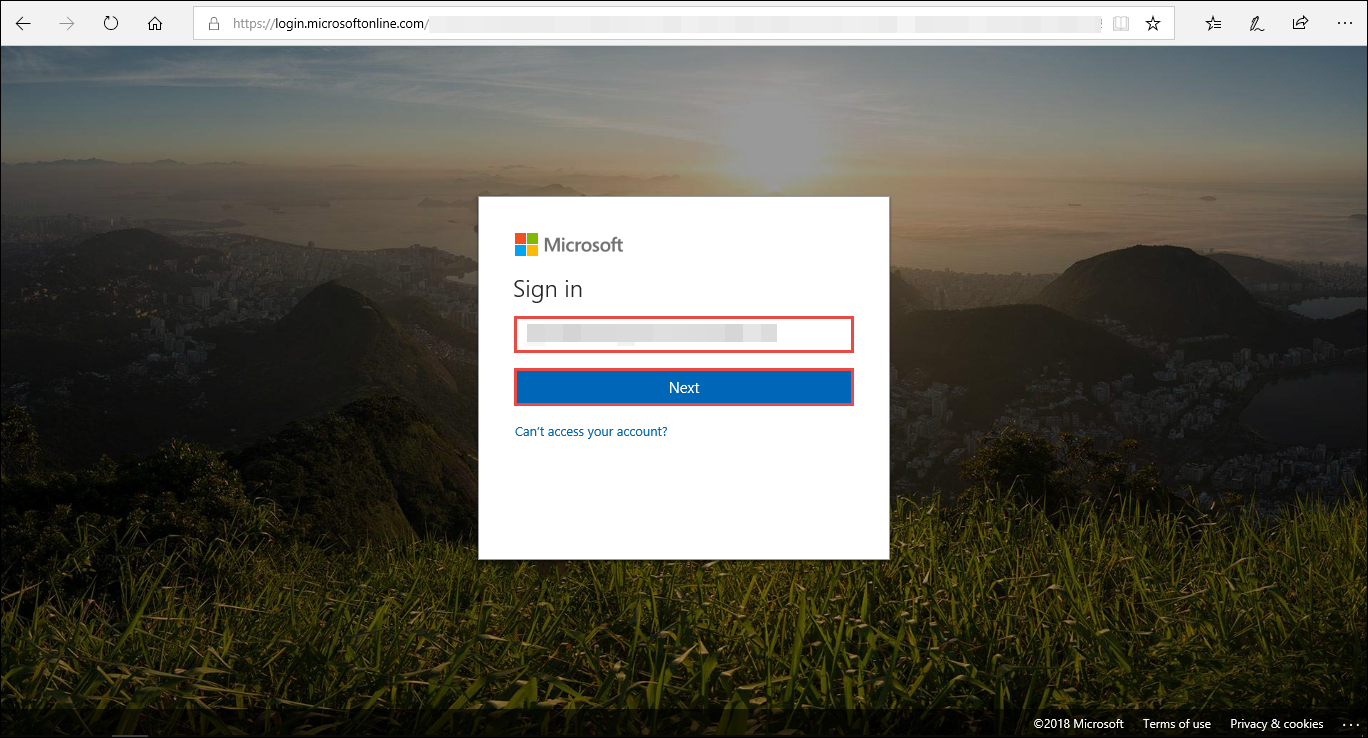
2. Enter the email id of your Office 365 email account and click Next
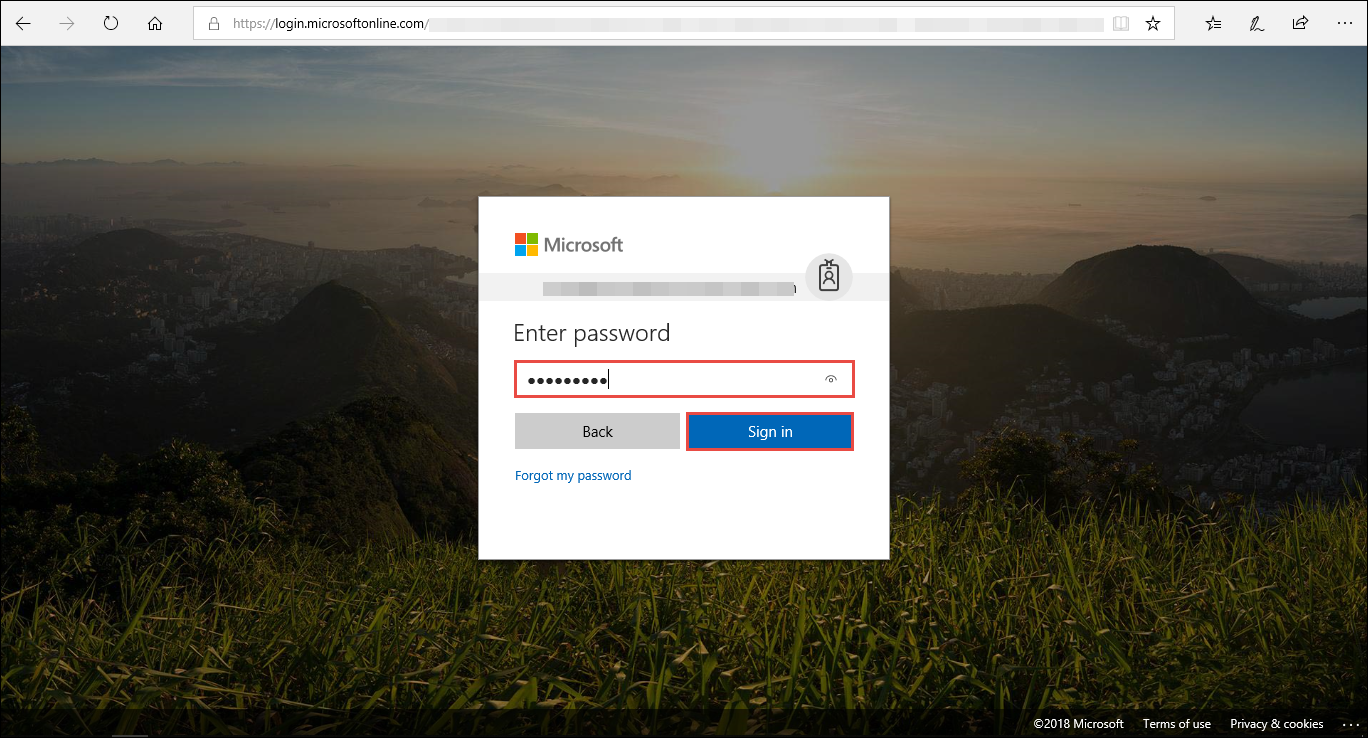
3. It is the time to enter password of the tenant whose email id you have mentioned in Step (2). Click on Sign In to proceed to create forms in Office 365via Microsoft forms
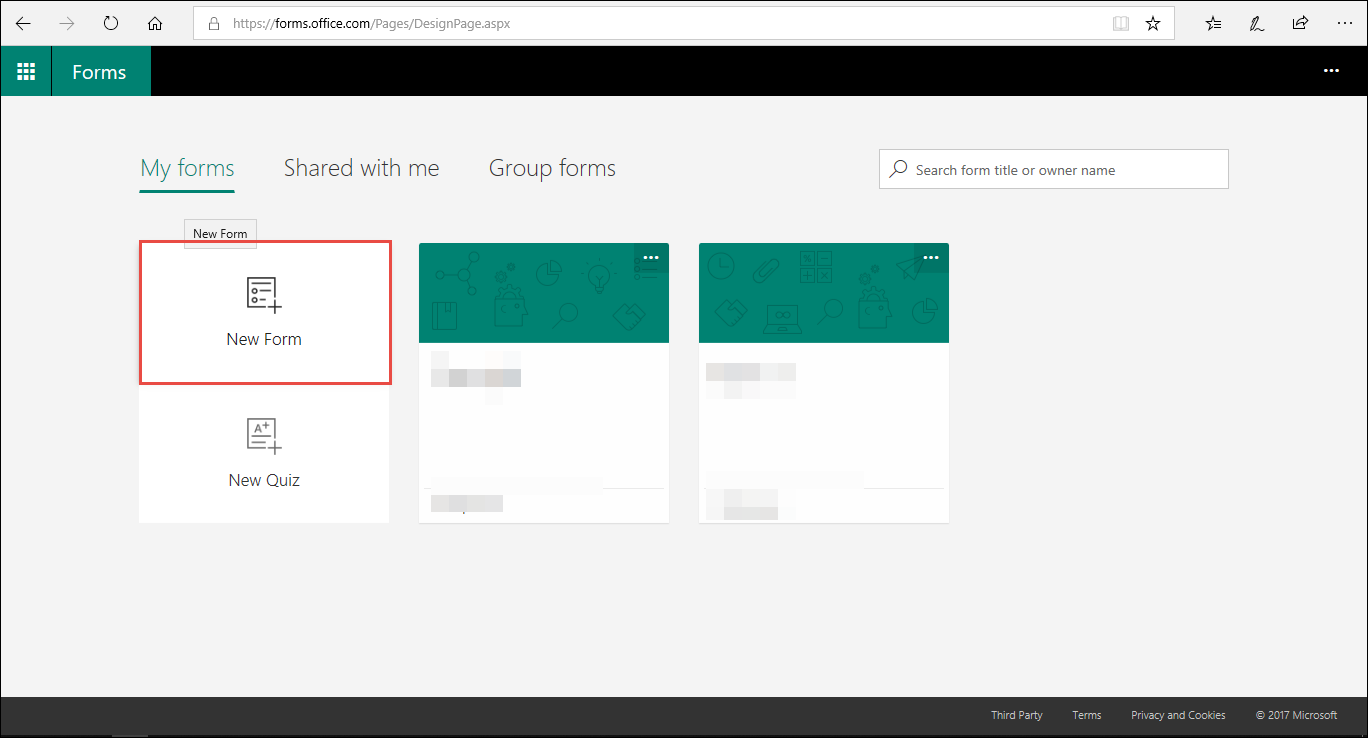
4. By default, My Forms section will appear in which you have to click on New Form. This begins the procedure to design Form in MS Office 365
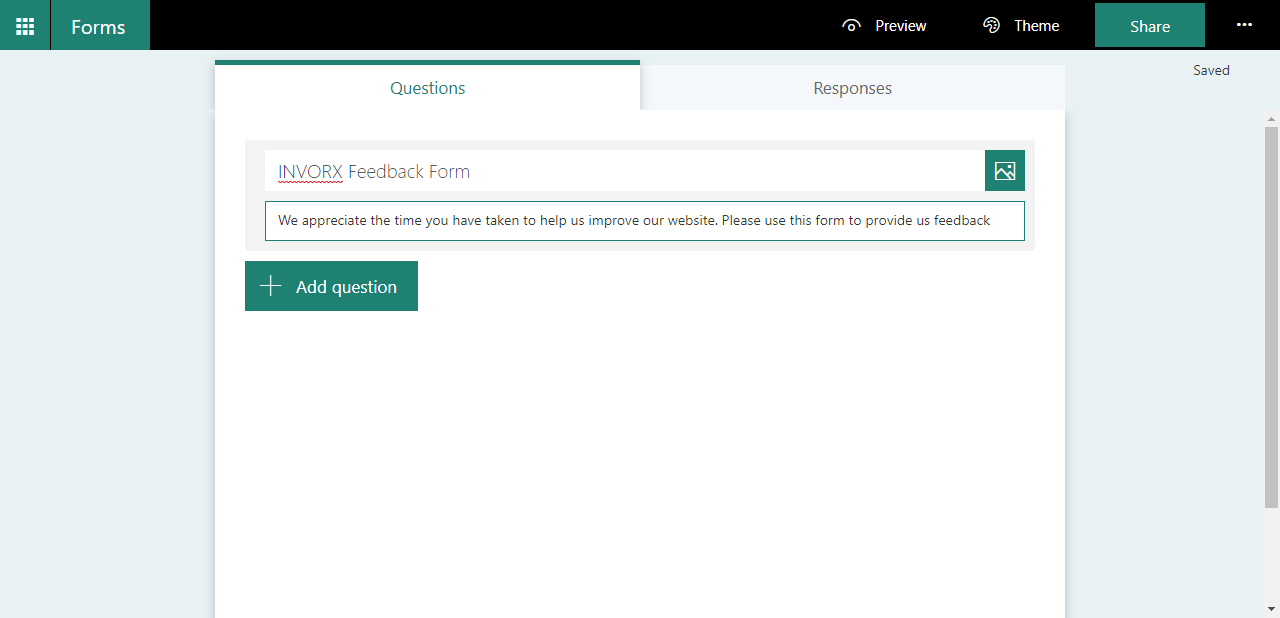
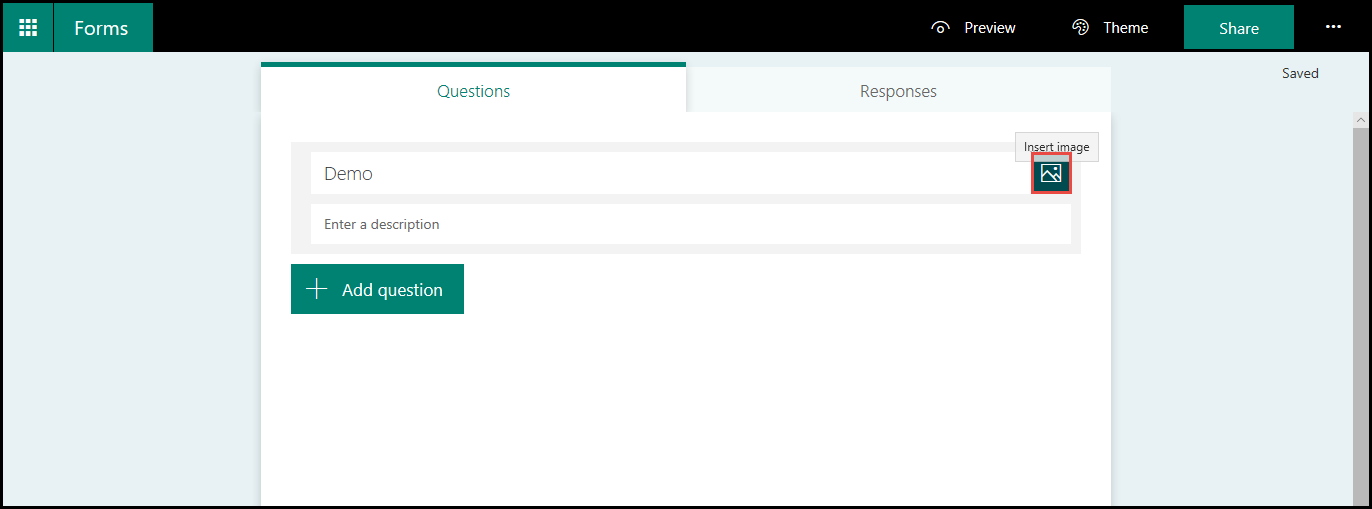
5. Click on the Untitled form and enter the desired name of the form to be created
6. If you want to upload an image then, stay on this step; else directly jump on Step (8). Click on the Insert Image box
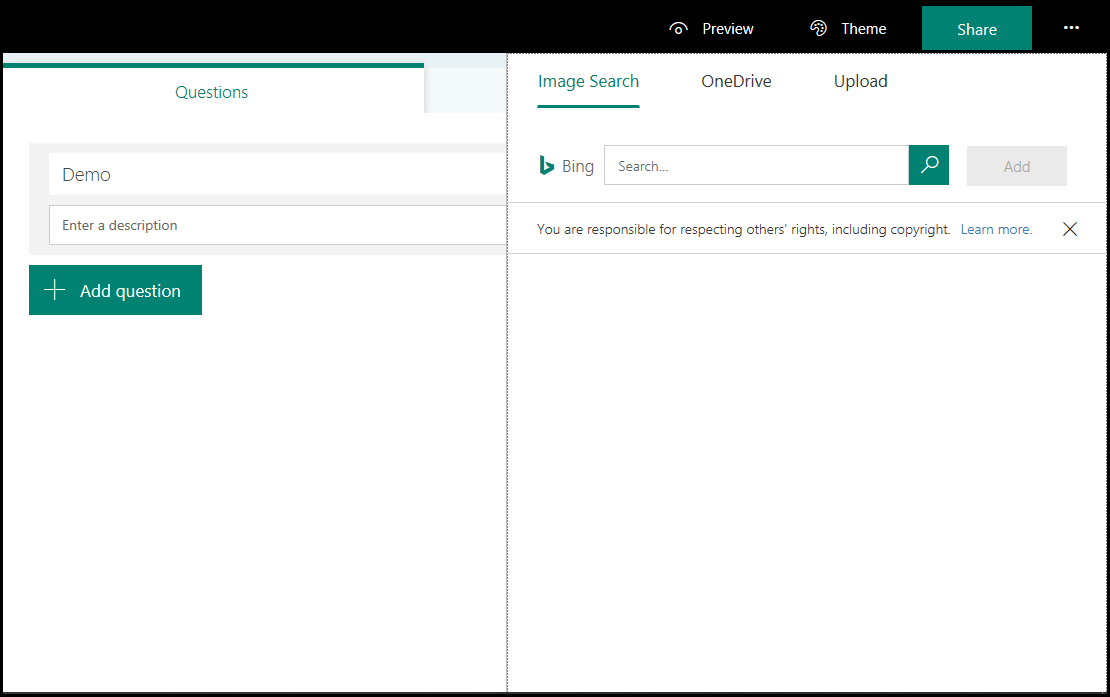
7. Choose & use anyone of the 3 listed option to upload image in new form and proceed with next step
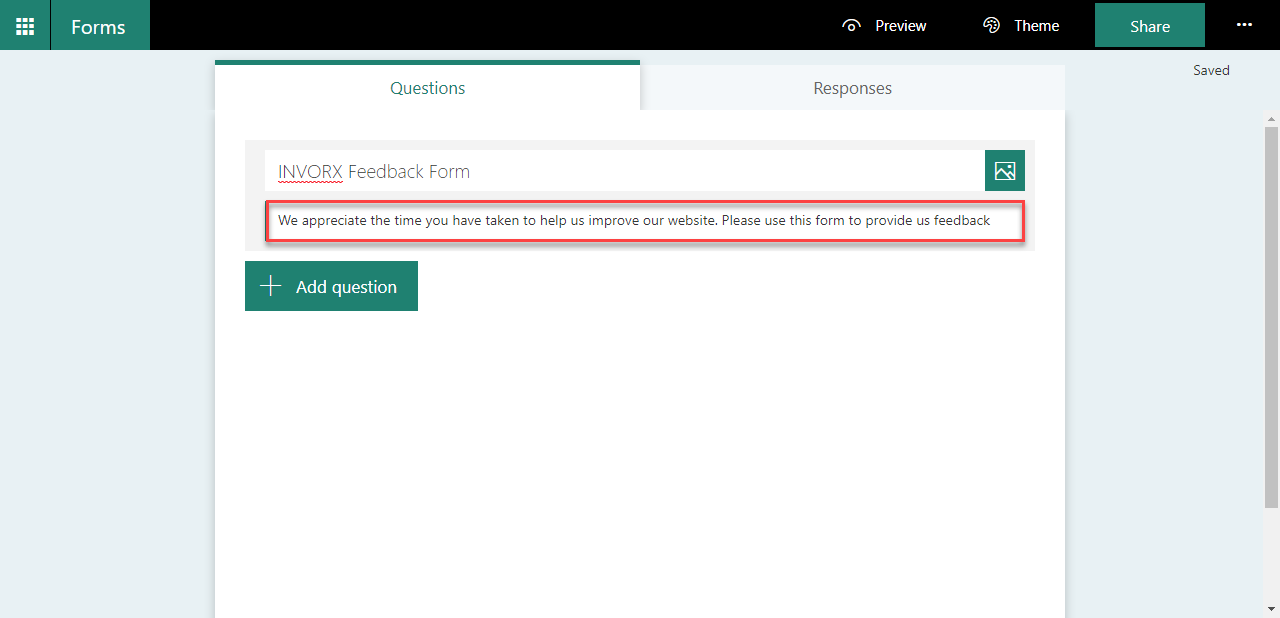
8. Give a short description about the form you want to create with Office 365or Microsoft forms
9. The next step to design online form with 365 Microsoft Forms require clicking on Add Question button
10. Choose the type of question(s) which you want to post in that form. You will be able to choose one type at a time

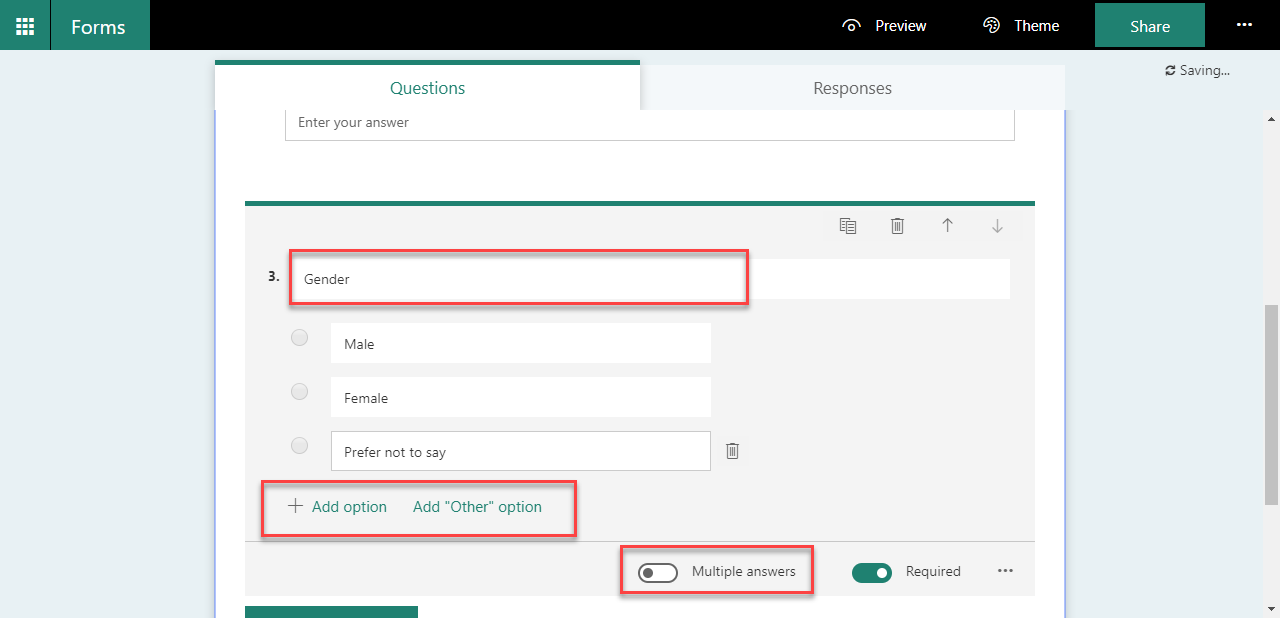
11. If you choose Choice question, mention the MCQs question in it. First write the question in its respective field and post the options.
- If there are more than 2 options then, click on Add Option button
- If you want to add ‘Other’ word as an option then use, Add “Other” option
- If there are multiple correct answers to the question then, enable the Multiple Answers option.
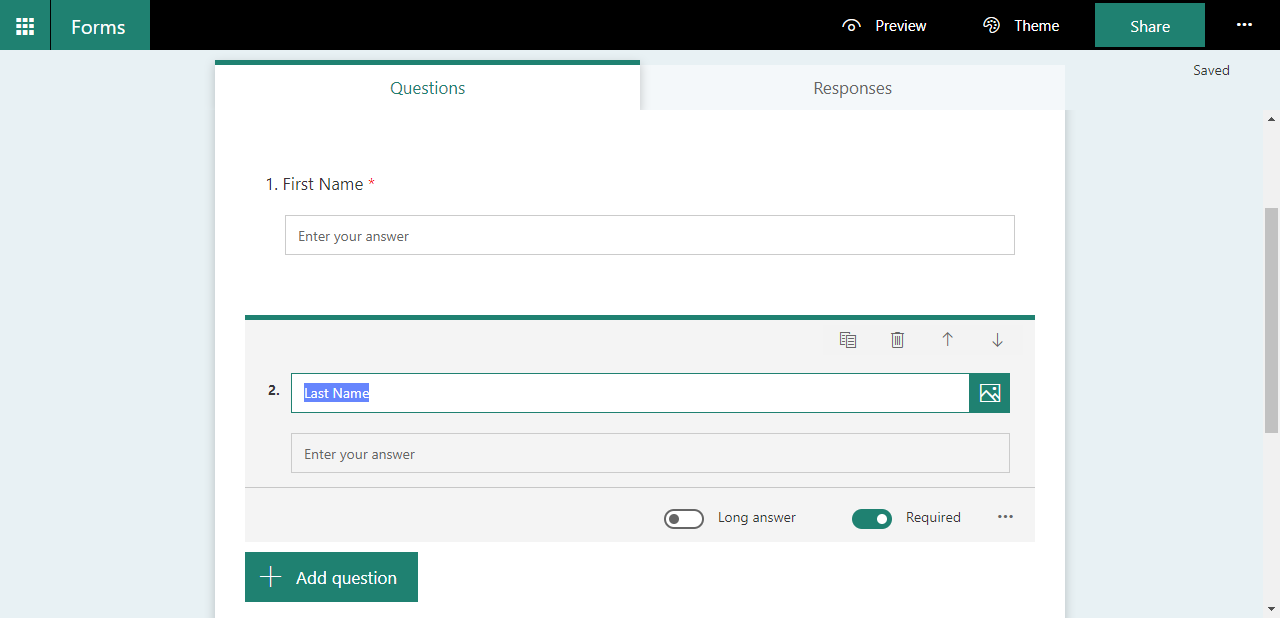
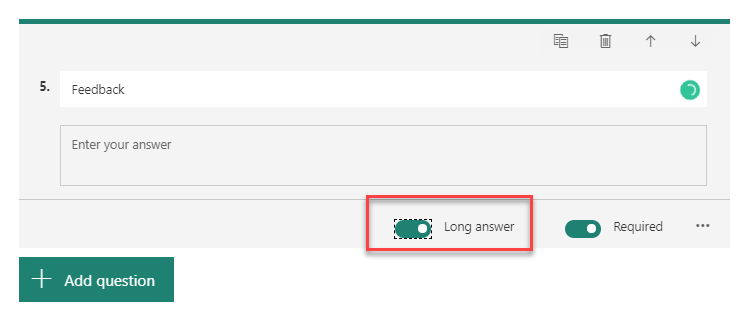
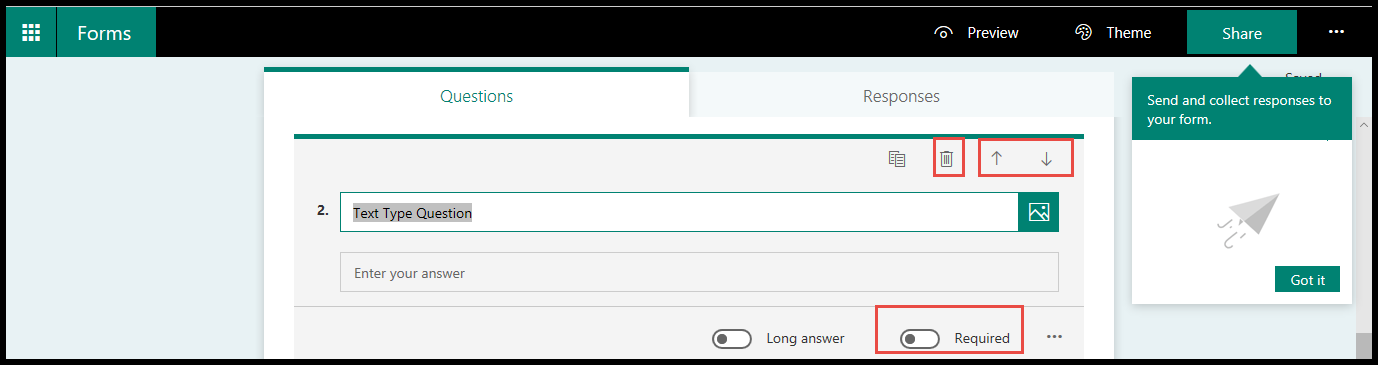
12. If you chosen Text type question, you need to mention the question in the respective field. You can use Long Answer feature when you think that posted answer will not be get filled in provided space
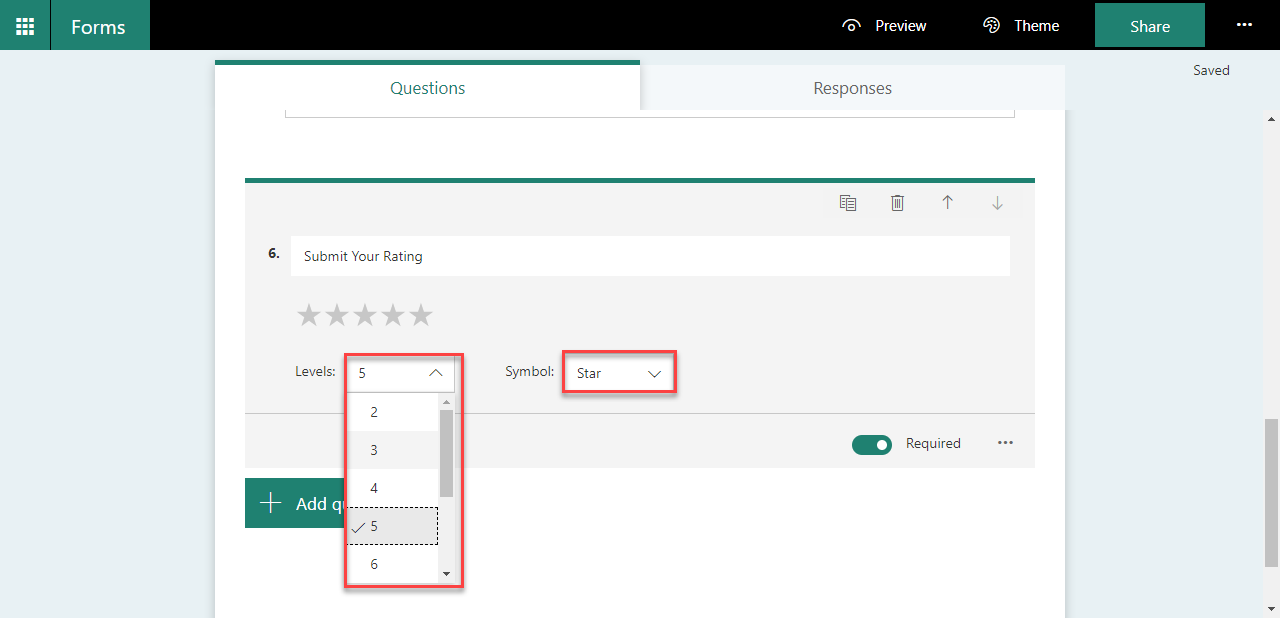
13. Another type of question is Rating. You can post a question, which requires rating of end users.
- Symbol field ask for the way in which rating is to be displayed, either Number form or in Star design
- Level field requires numeric maximum range of rating
14. Another options like date, ranking, and Likert, are provided while you create forms in office 365.
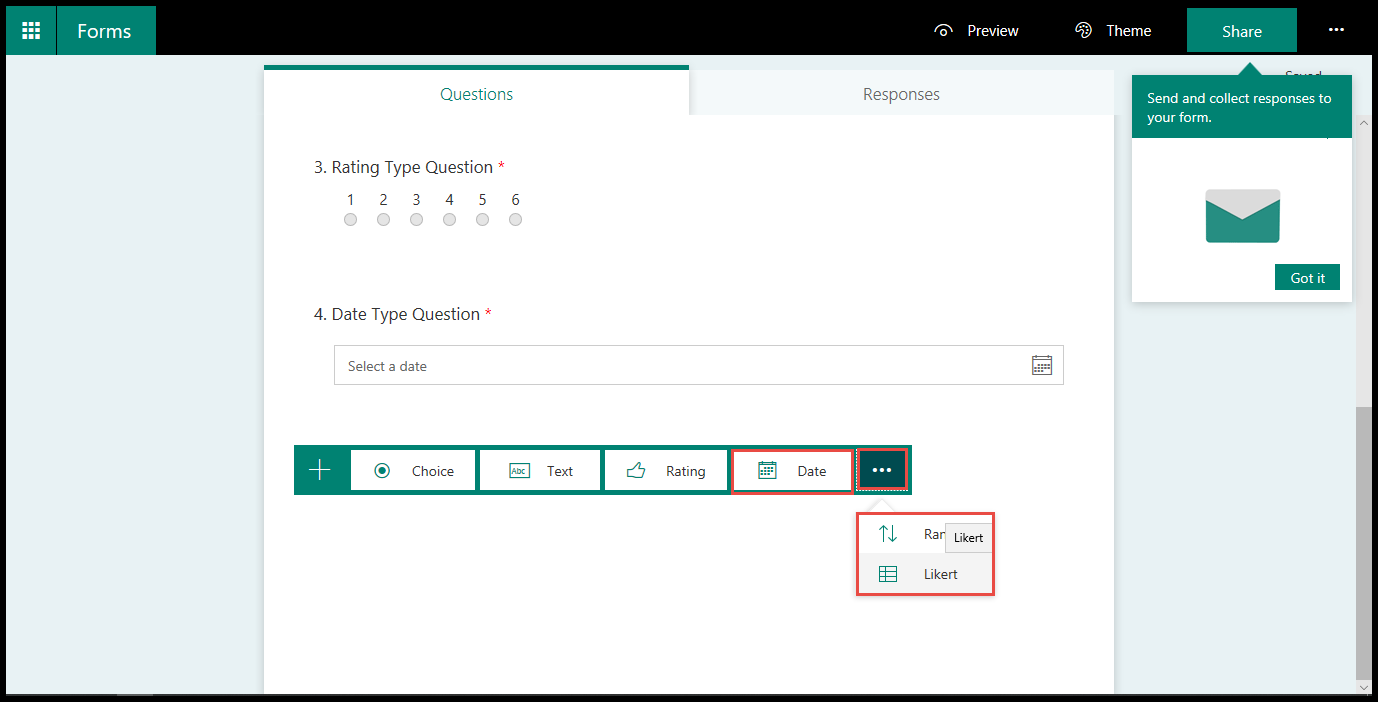
15. Following are the common options rendered in all type of questions :
- Up and Down Arrow : This is to change the default order sequence of the questions to be posted on new form
- Delete icon : In order to delete any enlisted question before finalized posting, you can use this icon to eliminate that question.
- Required: This is used when you are asking your form’s visitors to give answer to your posted query.
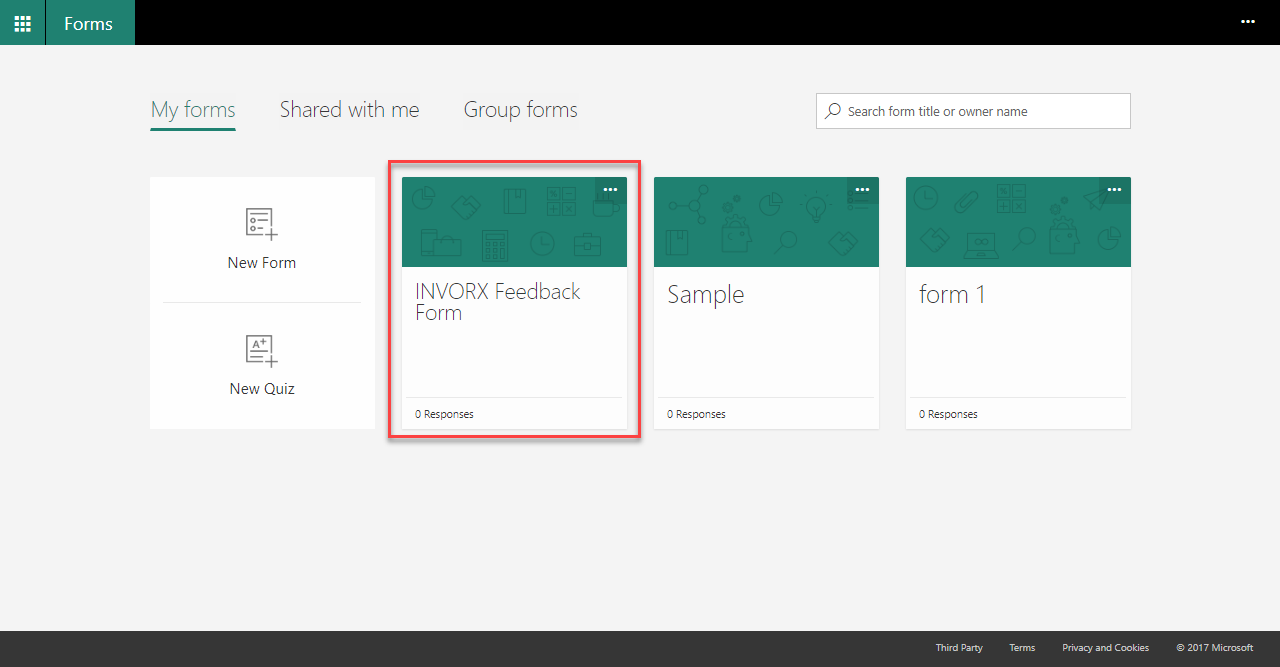
16. Go back to the Form home page of your Office 365account and you will find your form listed there.
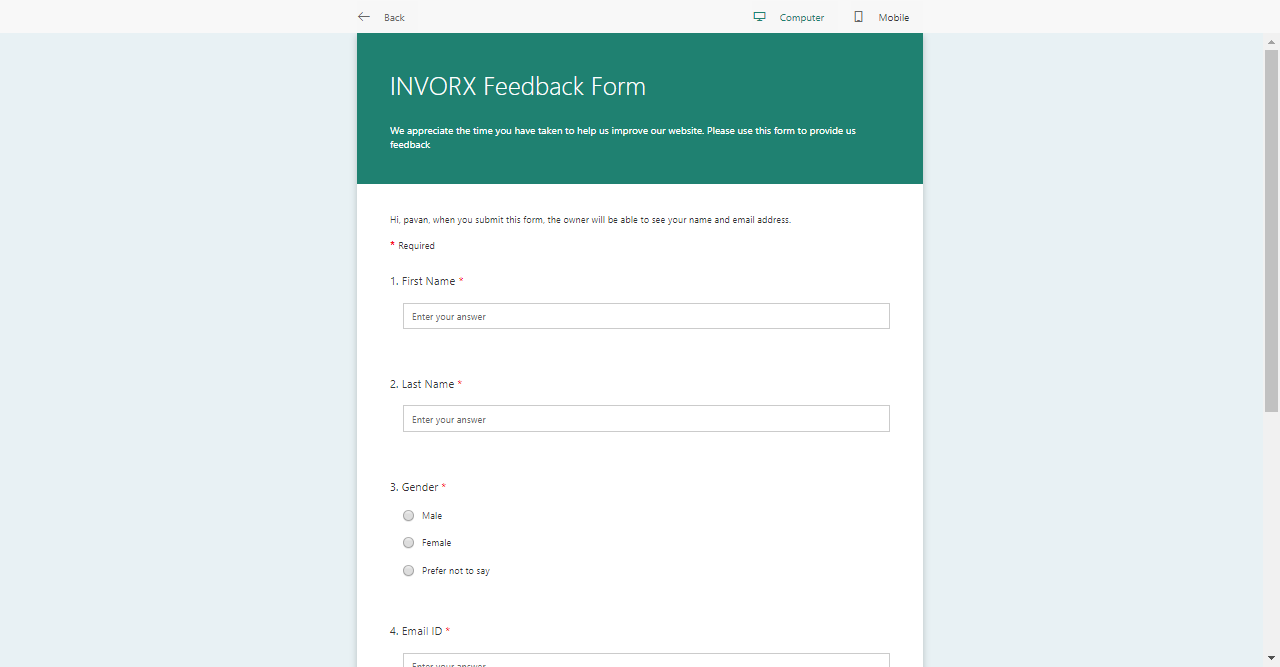
After the execution of each and every step to create forms in Office 365, you will be able to develop an online form and that too without any highly technical skills. Microsoft tries its best to ease the life of customers in all possible domains and hence, came up with Microsoft Form feature for Office 365subscription plan users.
For Desktop Users
For Mobile Users